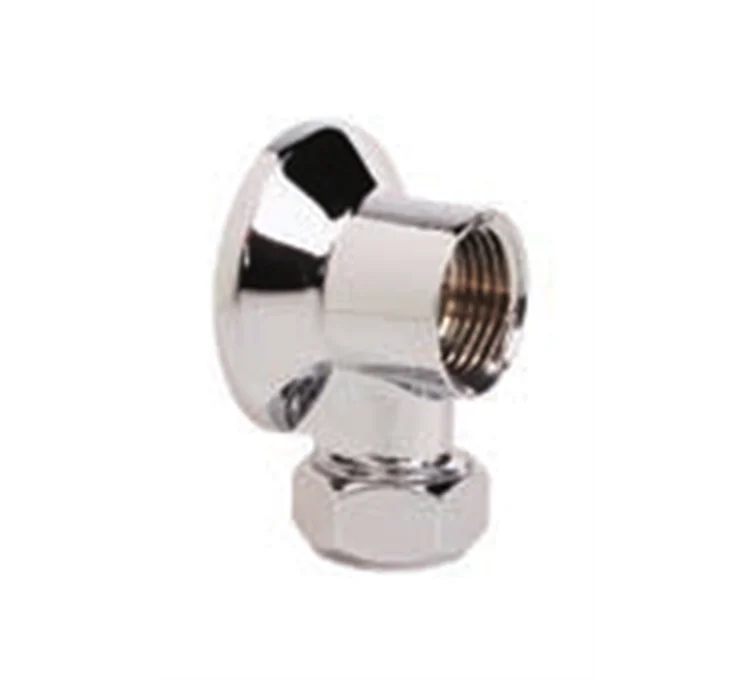
Wall-mounted bracket 3/8 for faucet with nut
Soit 5.75 HT / unité


Technical specifications of the angled wall-mounted fitting
This angled wall-mounted fitting is an essential element for installing taps in your bathroom or kitchen. Made with high-quality materials, it ensures a reliable and durable connection between your water supply and your tap. Its main technical features are:
- 3/8 female outlet for optimal compatibility with most taps
- Fixing nut available in Ø10 or Ø12 to adapt to different configurations
- 90° angle allowing for discreet and compact installation
- Three finish options: raw, polished or chromed
Advantages and uses of the angled wall-mounted fitting
The angled wall-mounted fitting for taps offers many advantages for installers and end users. Its ingenious design allows for easy and quick installation, even in confined spaces. The 90° angle offers an elegant solution for configurations where a straight outlet would not be practical or aesthetic. Additionally, the three finish options allow you to choose the one that will best harmonize with your interior decor.
This fitting is particularly useful in the following situations:
- Installation of wall-mounted taps in bathrooms
- Mounting kitchen taps with wall supply
- Renovation of existing plumbing
- Creating a water point in a limited space
Installation and maintenance of the angled wall-mounted fitting
The installation of this 3/8 wall-mounted fitting for taps is relatively simple, but still requires some precautions. It is recommended to call on a professional to ensure perfect sealing and avoid any risk of leakage. Here are the main steps for installation:
- Prepare the wall surface, ensuring it is clean and flat
- Apply Teflon tape or sealing paste on the threads
- Screw the fitting onto the wall connector using a suitable wrench
- Connect the tap's flexible hose to the 3/8 female outlet of the fitting
- Check the sealing of the entire assembly before commissioning
Other complementary plumbing accessories
To complete your installation, you may need other complementary plumbing accessories. Our complete range offers solutions adapted to all your needs in terms of plumbing and sanitary installation. Don't hesitate to consult our catalog to find the products that best match your project.


